Friday, August 27, 2010

Imelda - eat your heart out!


Everyone in my family calls me Imelda.
Nooo, surely not! I only have what, 33 pairs now?

These are my fab ones I came across the other day, the green, while its pretty, is so henious for my wardrobe it just wouldn't do!
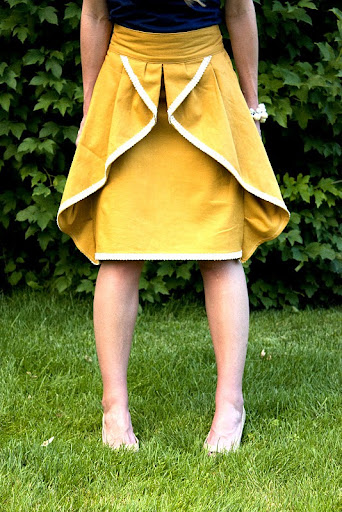
But the style is so gorgeous, wouldn't they look fabulous with my LBD?

Simple solution - lets craft baby!


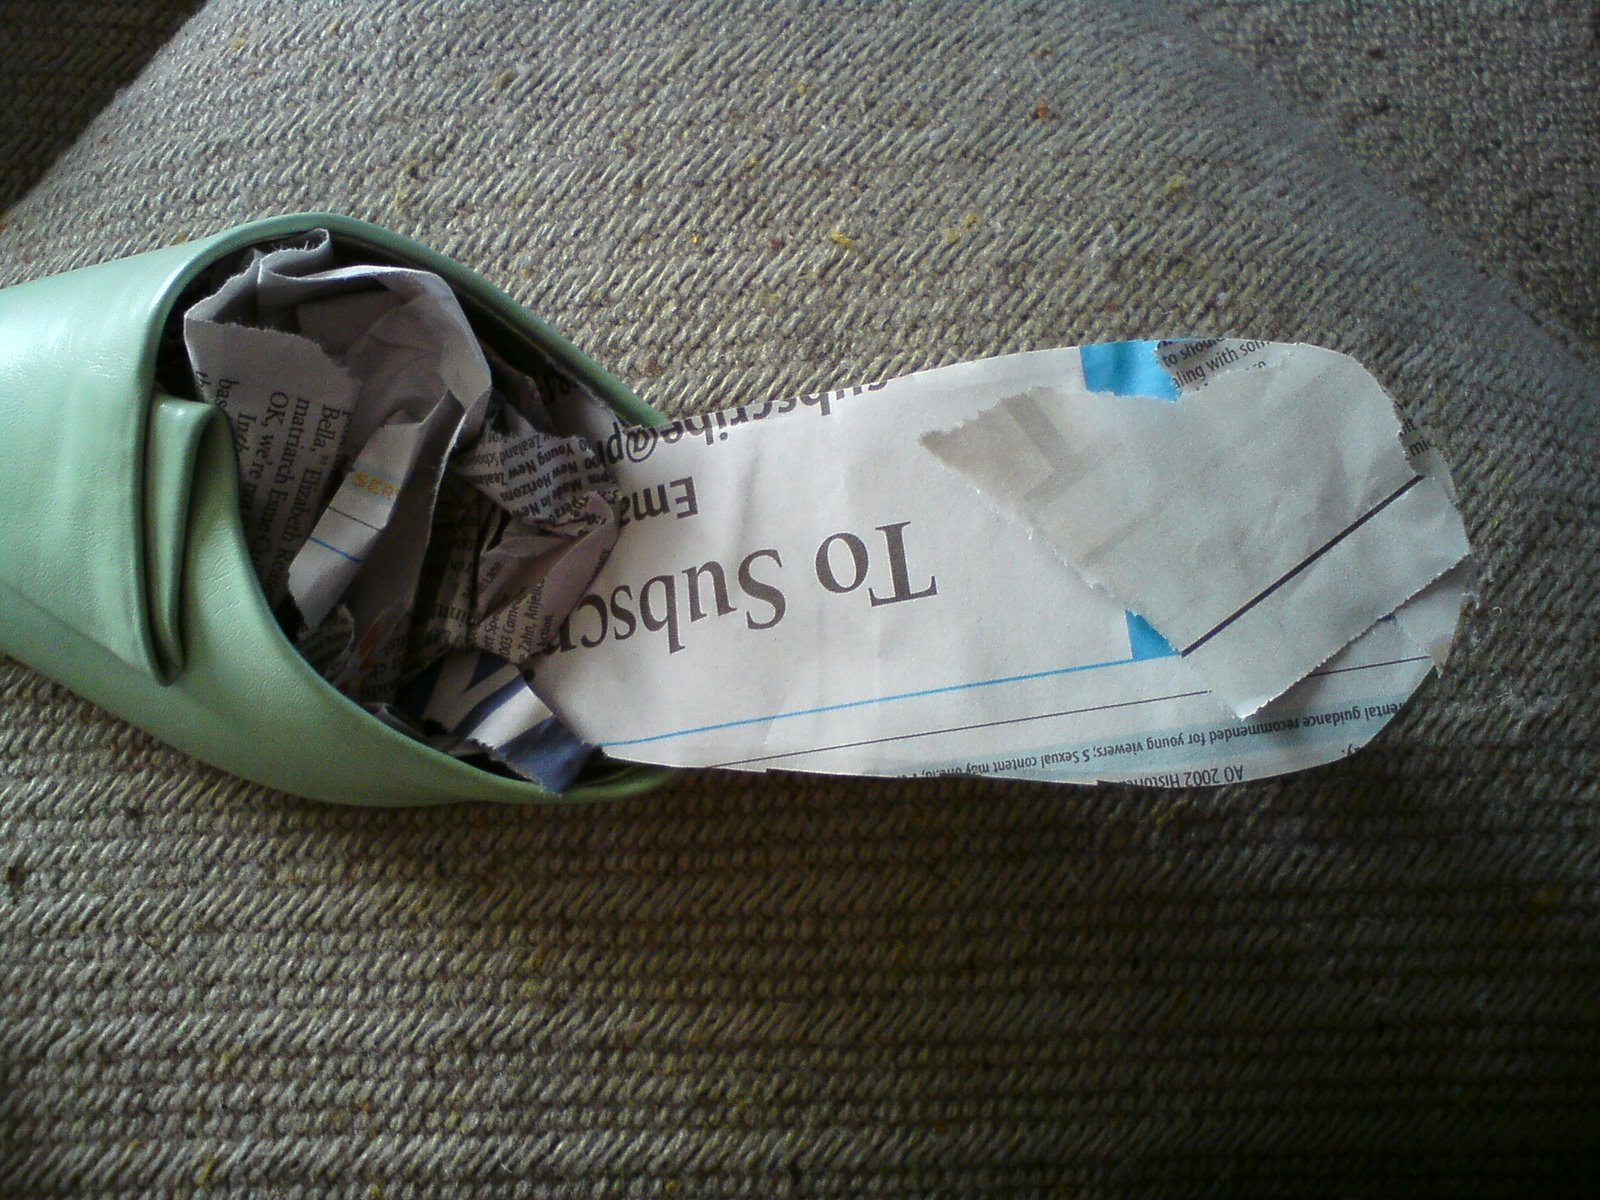
I placed clear sticky tape all the way around the bottom, so the woodgrain wouldn't get any paint on it.


Then I stuffed the inside of the shoe with newspaper - I thought the green inside would look kind of funky.
A bit like a hidden lining I guess!
Then used double sided tape to stick newspaper onto the heel, then cut around it so that part would be green too.


Enter the spray paint!
a few simple sprays with Satin Black spray paint, and this was the result! Gorgeous eh?
It's still wet here, so looks a lot like patent leather. But it's dried to a nice satin finish.
It's still not finished yet, theres another few steps to come.
But will have to wait until tomorrow to finish them ;)


Above is a pic of them partially dried. Quite pretty really!!!
Posted by Picasa

Thursday, August 26, 2010

The Nightmare on Emma Continues

Ok the nightmare isn't TOO bad now I'm wearing it.

Pattern Description:
Womens Off the Shoulder Top
Pattern Sizing:
Plus Size 44-52

Did it look like the photo/drawing on the pattern envelope once you were done sewing with it?
In ways. If I had it off my shoulder, then yes it would look very similar! I also omitted the waist ties

Were the instructions easy to follow?
The instructions were really simple. Except for one part that tripped me up, but it was SO simple.
"Lay allowances on neck edges of front, sleeve and back pieces(4cm) to inside, turn in to a width of 3cm and press." Now I look at it, I wonder how it even had me confused. But I probably would've worded it differently to be something like "For neck allowances, turn neck edge down 1cm, press, then turn down another 3cm". Other than that, the instructions were very simple

What did you particularly like or dislike about the pattern?
There's not much I don't like about it really. I did call it the "Nightmare on Emma" top yesterday. I was having a lot of trouble with the elastic neckline. No matter how loose the elastic was, it just kept popping up to sit on my shoulders. In the end I gave up, and left it sitting on my shoulders, which I actually prefer, it hides the bra straps!

The length is also far far too short. I'd add on another couple of inches! Since I didn't want to lose any length, and make the top even shorter, I just did a rolled hem edge, it looks so pretty.

Fabric Used:
a light stretch printed Satin.

Pattern alterations or any design changes you made:
As I said, I changed where the neck sits. And got rid of the shoulder ties since the neckline is higher. I also didn't use the waist ties, it would've been too tight, and taken the length up even more.

Would you sew it again? Would you recommend it to others?
Will definitely sew it again. It's going to be so comfortable and light in summer! But still gives that loose airy feeling.

Conclusion:
LOVE this top now, and it's no longer "Nightmare On Emma".

Will make it longer the next time, it just feels far too short. It's very comfortable to wear.


Now for the photos.
What you can't see, is the sleeves done the same way as the neckline with elastic. But I actually like how the rest of the sleeves drape down over it, so they look floaty.


inside seams - stitched and overlocked.


My fab rolled hew! Isn't it beautiful lol.
Phhoaarr Check those lily white legs! Bring on SUMMER!


Wednesday, August 25, 2010

"The Nightmare on Emma"

I came across this fab top in the 06-2010 issue of Burda.
Can't find the line drawing - but here is the picture from the magazine.
It's an off the shoulder, elasticised at the neckline, wrist and also at the waist.

I had a lovely coffee cream fabric with some dark brown flowers on it. It's a slight stretch satin. Looks fabulous in that style!

Right from the start I should've known it'd be a nightmare top. First of all, the simple instructions confused me. No problem, I got past that! Then I thread the elastic through the neckline casing - enter the "nightmare on Emma". The top is too short for a start. But it doesn't matter how much elastic I put in the neckline casing, there is no way that the top is going to stay off my shoulders! And if I dare move my arms from my side, peowwww, up it goes to my neck! EEK! But now there is an ungathered part of the neckline, that I just cannot seem to get it to gather up.
I've put it aside gently thrown the stupid top down and will be looking at it another day.

I'll have to just have it as a more wide neck top than off the shoulder. And I won't be adding elastic into the waistline either, it doesn't need it.

whinge whinge moan over!

It looks fabulous with my skirt though, so when it's finally done it'll be just perfect and light for summer!
I came across the most wonderful pair of shoes in this color earlier, they are hideous (well for my wardrobe anyway). But the style is gorgeous. So I shall be doing a wee something with them, all will be revealed in good time ;)

Sunday, August 22, 2010

I shopped my stash!

Never again will I feel guilty about buying fabric when I have no purpose for it.


While looking through my stash for, well anything really, I came across - printed satin! I'd totally forgotten that I'd purchased this while in Auckland. It'll be just perfect for my lining of my dress. No having to spend money, no having to drive hours to a fabric store to find something suitable, no waiting for fabric from overseas. It's prewashing now. I only had 2metres, so was unsure if I'd be able to eekk it out of the fabric, but laid the bits on top and I will definitely be able to.
Woohoo.
Now, just to wait for the contest to start in September!

Also this morning while sorting through a jar of buttons (that originally came out as a bar of juttons. woops) I discovered this COOL old earring. It's one of those ones for non pierced ears, so it has the wee screw at the back to tighten it.
Thought I might integrate it onto the dress somewhere.

Call me dense, I forgot the photos.


Friday, August 20, 2010

Lining choices

I've found the coolest choices for fabric for lining...
But how am I going to decide - both are fabulous!
Blue and Black Satin Or Rainbow Polka Dots

I just want something fun and funky! 

Wednesday, August 18, 2010

Holy SHEET!

I quite seriously could've cried this morning.

I traced out the Burda #138 yesterday, and cut it out this morning. Just out of a plain black sheet, tehehehe!
And I did something a bit different, instead of pinning the pattern then cutting, I marked around it with tailors chalk! Man it made the process so much easier and less frustrating. I'll definitely do that again.

So here was the result of my test dress from a sheet. I didn't cut the collar, I just really wanted to work out any fitting issues. But now having seen it on without the collar, I'm not going to include it at all. I LOVE the shape of the neckline, and don't want to get rid of that.


I put it on, and wanted to cry, seriously. I felt absolutely beautiful in it!
The neckline shape is just so gorgeous.
It's a bit snug in the front between the waist and hips as you can tell, so I'll do a smaller seam line or something there.

But otherwise - WOW.
And this is straight out of the magazine too, no alterations anywhere. There's no bunching in the back curves, and the invisible zip went in ok, even being my first ever time!

It's not hemmed, anywhere. But as it's only a test out, I'm not worried. I'll line the entire thing in a really funky print. (If anyone knows where I can find a black satin with multi colored bright polka dots, I'd love to know!)

Monday, August 16, 2010

Decisions are made..

Well it took a bit of deciding and a lot of umming and arring!
Finally decided on a dress, and it just so happens I have the pattern already.
It's from a Burda World of Fashion magazine. For those kiwis who haven't discovered them yet, they really are rather cool! You have to trace the patterns from the magazine, but you get so many in each mag, it's worth it!
Although I did spend 2hours tracing my dress out this afternoon, and gouged my index finger with the tracing wheel. OUCH

So the dress is #138, from BWOF 12-2009.

I'm unsure about the sleeves, so I think I will merge a sleeveless armhole onto this and make it sleeveless. 
It has a lining, and I'm seriously considering going with something really quite different for the lining.
I do love the idea of having something funky hidden away, like in my jeans, I love the pocket linings to be something cool.
Maybe this from Fabric Online. Or I could go crosseyed with this!
So many choices! I'm looking forward to making a version of this dress from Calico, to check fitting issues. So I can get them worked out before the contest starts.

Sunday, August 15, 2010

Everyone needs a LBD.

With the Little Black Dress contest starting next month on Pattern Review I figure hey every girl needs a LBD right? Not that I ever have an excuse to wear one!

I'm in two minds. Make a cool LBD that could also double as a casual dress for summer, or really go all out for the elegant LBD that could sit unworn for a long time.

Butterick 6582 
is just divine! But how would it look on a plus size girl?
I'm not kidding myself, I know my curves aren't like hers!
The high neck is a slight worry too.
Butterick 4657
This would suit for the casual style LBD. 
I think it could work for a summer day, or an evening out.

Vogue 8355 
And what about this gorgeous dress suit/jacket by Vogue *swoons*

Vogue 1192 
is rather gorgeous too.


Butterick 5383 
is also really nice, I like the lines!

Thank goodness I've still got another month to decide before the contest starts. I really am not sure!

Thursday, August 12, 2010

12 little feet, all in a row

Hi to those who've just discovered my blog! Love hearing from you.

The sewing room is coming along very slowly.
It wont be finished for another 6 weeks or so, I'd like to get someone to help me paint it if possible.
I've done a lot of organizing notions the past few days, and I even had another fabric cull, and folding session.
I do love looking at neat stacks of fabric. Just need to make a template big enough to fold dress fabrics since they are a lot wider than quilters fabrics.
Here is one of my favourite organizers.
I saw the most wonderful idea for Presser Foot Storage, and instantly I knew I wanted something similar.


A simple $7.99 craft box from The Warehouse (for those in NZ and AU), it has removable dividers so you make make the compartments how you'd like.
I then measured the inside of the lid, and how wide the compartments were, and made a table on Microsoft Office. (I have loaded this template for people to download. There's an instruction page on page 3 to guide you into making this for your size container. If you're having problems, my email is included)
Presser Foot Template Microsoft Word to download
In each box I wrote the name of the presser foot, the letter that it corresponds to, and the page of the book that gives instructions on how to use that particular foot.

Then I decided the top needed something cool too. So I added a picture of my machine, and some text.
Printed it out(one side at a time, I had to flip in the middle), and TA DA!
So much better than the wee vinyl bag they came in. I never knew which was which!


This container would be cool for buttons as well, as they are quite deep, so can hold a lot. (Ask me how I know ;o) hehe)

I've got a Burda pair of pants (7567 off the top of my head) cut out and ready to go. It's 1114pm here, and I can hear the wind raging outside, so tomorrow might be a great day to get onto these pants! Just plain black, and they are dress pants. I figure I needed something a bit dressier than just my jeans for certain occassions.

Once again, thanks to those who follow me, and leave comments. I really love hearing from you all!
Posted by Picasa

Monday, August 9, 2010

How to create a functional sewing space!

Currently the sewing room is just that a sewing room. But it's very soon going to be another guest bedroom with a queen bed. (Why is it when people die, WE end up with the big stuff like queen beds? lol)
So I'm sitting here trying to work out how to make it functional and work well. Not easy in a room thats not even 4x4m!
I've drawn up a to scale room plan, and then have cut out wee items of furniture (think bed, sewing tables, dressers) that are also to scale.
It'd be so much easier if I could use just a bench top on one wall, all machines could be set up and it'd look great! Instead of the sewing table + large kitchen table that is a family heirloom!
I'll work it out... Somehow.

Sunday, August 8, 2010

Elle Apparel: Pinwheel Skirt

How absolutely gorgeous is this skirt from Elle Apparel!
It's made from your measurements, so no pattern required! I love it and think it'll be on my list for summer

Elle Apparel: Pinwheel Skirt

Pinwheel Skirt
(photo from Elle Apparel)

Friday, August 6, 2010

The Science of Style

I came across this Website this morning.
http://www.insideoutstyleblog.com
She's amazing. It's basically a blog devoted to style, how to wear it, how not to wear it, for our body shapes, etc.
It's going to be my bible while I create my summer wardrobe!
If you're wanting to change your look and style, but not sure what to wear that flatters you, then Inside Out Style is definitely the blog for you!

Tuesday, August 3, 2010

Knew Knickers..

Well, heres something new for me.. Knickers.. I came across a blog that had the coolest knickers on them, she'd made them herself. Awesome idea I thought, especially since we are so limited here in town, the warehouse is about our limit. 
I bought Mccalls 5651 pattern, and went through my stash to find a nice comfy fabric. This was the result! Oh and this was before I wore them. lol


Review below.

I'd like the back to be a bit more boxy, more like the shape of the front. Oh, well there's an idea! 
Excuse the grotty ironing board cover.. It is past its use by date lol. I want a new one but they get grubby so quickly


A good example below about the crotch lining application. They have you zig zag around the whole crotch piece. So you've got a zig zag going across your knickers, it looks tacky, I won't do it next time.
I used a 3 step zig zag to attach the picot elastic.


Pattern Description:
Womens Underwear
Pattern Sizing:
XS-L. I made size Large in view B

Did it look like the photo/drawing on the pattern envelope once you were done sewing with it? Not Really! But I did make a few changes.

Were the instructions easy to follow?
Simple instructions. But I would've changed how they attach the crotch lining.

What did you particularly like or dislike about the pattern?
I dislike the way they attach the crotch lining. It seems a bit messy. Otherwise it's a very nice pattern. I like where they sit. But I will change the shape of the rear to be a bit more square across, right now they just look like undies that are too small for my bum. I much prefer the short hot pants style, so will alter it slightly to give that effect.

Fabric Used:
Rayon/Lyrca blend. Ohh I love that.

Pattern alterations or any design changes you made:
Making size large, I thought I'd maybe have to add a bit on, as I am usually a size XL or so. The large looked massive when I lay the pieces out, so didn't add any on. I stitched them up, and ended up taking them in at the side seam by 1". So 4" all around? 

They also leave the leg edges unfinshed? I thought it looked rather messy, so I did my first go of attaching some picot elastic around the legs, and also did that around the waist instead of a lace waistband like they show. They look much nicer now.

Would you sew it again? Would you recommend it to others?
Will definitely sew them again, with my alteration to make them more hot pant style.
Conclusion:
Very comfy knickers. They feel comfy on and not like they are riding up in any places they should.

I wore them while I went for a walk this morning, and they were fabulously comfy, no slipping down or KUB's (knickers up bum)


Sunday, August 1, 2010

A design for the Sewing Room.

I saw the coolest canvas art at a cafe yesterday. All coffee/cafe orientated, and it was a word find.
How funky! And my mind started ticking.

Here is the result of my mind ticking over.